Netdoor Linux Configuration
Quick start if you're using RedHat 5.x or later
In this tutorial, the following assumptions have been made:
- You have already sucessfully installed some version of Linux on your computer.
- You have succesfully installed and configured some version of XFree86 and its libraries and have them functioning correctly
- You have successfully detected your modem during your setup of Linux and symbolically linked it to /dev/modem
- You have successfully installed pppd version 2.0-f or later. If you don't already have it, you can acquire it from here.
If you need help doing these basic steps, go here and return to this tutorial when you're done.
You're free to use any distribution of linux you choose, however for the sake of this demonstration we are using the RedHat version.
You'll need to download X-ISP, the XForms library (v.88 or later), and the XForms development libraries. All of these can be found in rpm format at http://rpmfind.net/linux/contrib/libc6/i386/. For the debian versions of these files try ftp://ftp.debian.org/.
RedHat 5.x Quick Start
Once you have X-Windows up and running, ensure you have the following RPM's installed. If you're unsure whether or not these packages are installed, you can query them from the command line by typing rpm -q package-name (eg rpm -q pppd). If you are missing any, get them from the links provided below.
pppd
X-Forms Library
X-Forms development libraries
XPM libraries
x-isp 2.6
Install each and every one of these RPM's (rpm -ivh name-of-rpm) and then run X-ISP.
Getting Started
Once X-ISP is installed and running...
1. As whoever is logged in on the console, you must 'su' to root and type the following (this assumes you use bash as your root shell):
export DISPLAY="localhost:0.0"
xhost +localhost
Also, edit your /etc/resolv.conf and make sure it contains the following lines
before any other nameserver:
nameserver 206.41.228.8
nameserver 206.41.228.6
Load X-ISP by typing /usr/X11R6/bin/xisp&
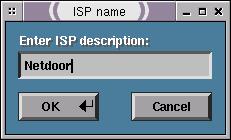
2. In X-ISP, go to the options menu. Under the options menu, select "Account Information", click "Add", type in Netdoor, and click OK.
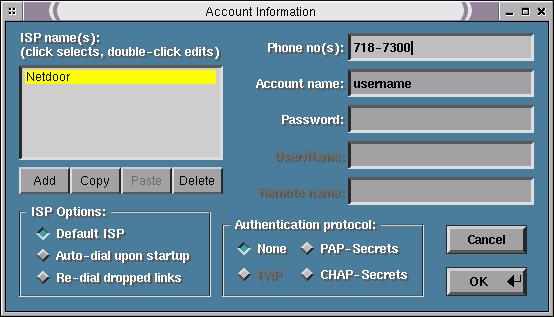
3. Fill in phone number, account name (username), and password where appropriate and select "None" for Authentication Protocol. Optionally, you may select "Auto-dial upon startup" and/or "Re-dial dropped links". If you are unsure of our phone number for your city, check the list.
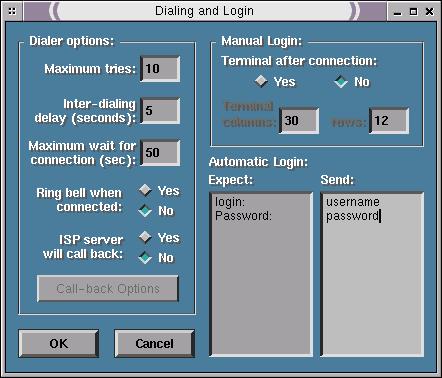
4. Under the options menu, select "Dialing and login". In the "Expect:" column, select the first available blank and enter "login:". In the "send:" column, select the first available blank and put your username. In the "Expect:" column enter "Password:". In the second "Send:" column, enter your actual account password. It will be unencrypted and in plain view, so be careful who's around when you do it. Select "Ok" when done.
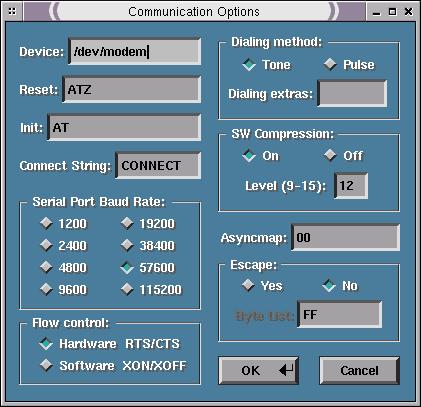
5. Under the options menu, select "Communication Options" and make sure it equals "/dev/modem". Select your appropriate baud rate. Your "Init:" string should be simply AT. Select your appropriate dialing method (tone or pulse). The rest of the selections you can leave alone.
6. Under the options menu, select "TCP/IP settings". For "Support ip-up/ip-down", select yes. The primary DNS server is 206.41.228.8 and 206.41.228.6. You can leave everything else under the "TCP/IP settings" submenu alone.

7. Click on "Connect" from the main menu and you'll know you're connected when you see an IP address appear in the IP menu.
There you have it, 7 easy steps to connecting to Netdoor under Linux. If you have any questions, mail them to linux-info@netdoor.com